
 Here i am taking Vendor as an Example.
 First Step : Click on Prepare Modification button.
Click on new entries.
Mention your screen group and description.

Select

Mention Function Code and Description. The description and icon given here will be shown as the button description and icon on the vendor maintenance. Save the entries and go back the customizing screen. Execute “Business Add-In: Processing of Master Data Enhancements”.
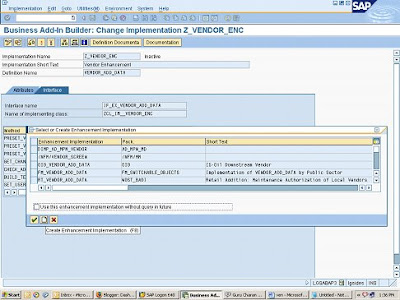
Specify an implementation name – Z_VENDOR_ENC and press ok. Enter the short text.
 Now go to Interface Tab and then go to the method “CHECK_ADD_ON_ACTIVE”.
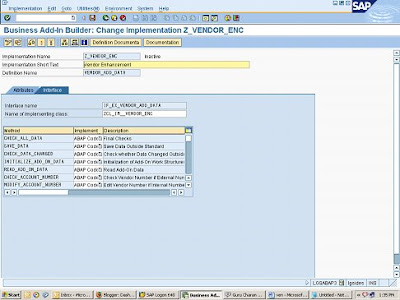
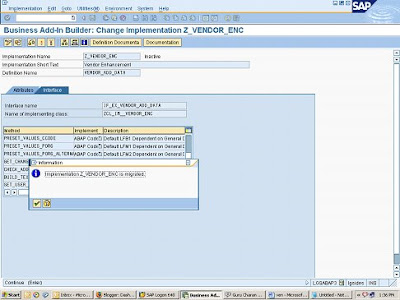
Mention the name of yo
Now select your enhancement implementation name and press ok.
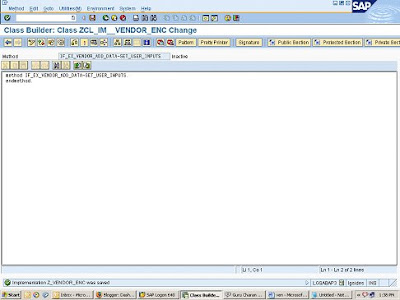
Enter the below code as shown below.
if i_screen_group = 'ZH'.
e_add_on_active = 'X'.
endif.

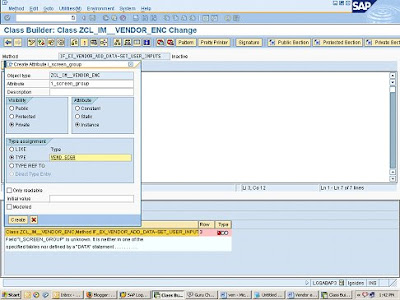
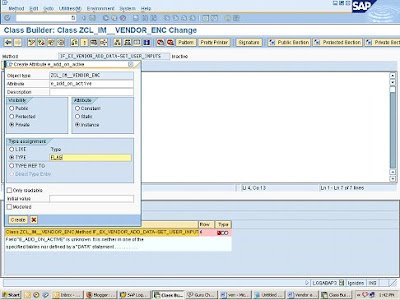
Now define i_screen_group and e_add_on_active by double clicking on them.
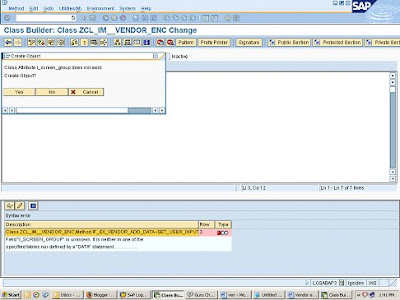 Entries For i_screen_group.
 Entries For e_add_on_active
Check,Activate and go back.
Now activate the entire badi.
Go back to the customizing
Execute “Business Add-In: Customer Sub screens”
Mention 
Now mention the short text.Here at the bottom specify the screen group created earlier by clicking on the drop down box.
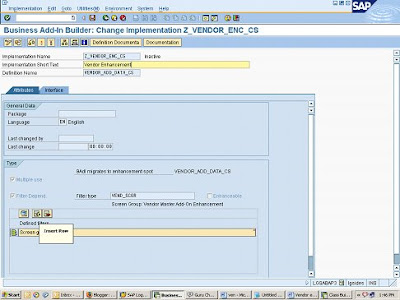
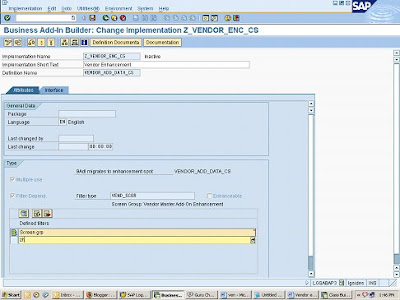
Now go to Interface tab and select the method “GET_TAXI_SCREEN”
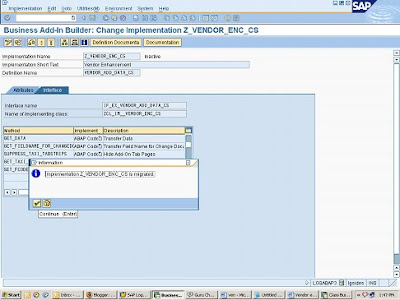
Select 
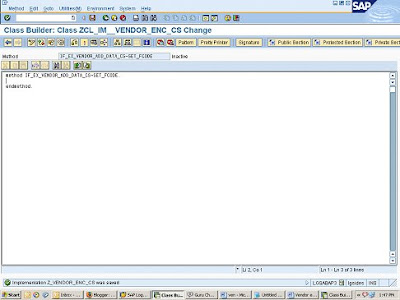
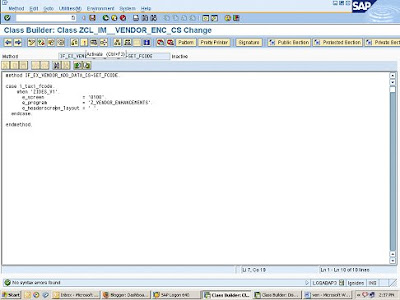
Enter the following code. Fcode “'ZIDES_V1” is the label tab page created in the customizing. We specify the program and the sub-screen to be called by SAP for the vendor enhancement here.
when 'ZIDES_V1'.
e_screen = '0100'.
e_program = 'Z_VENDOR_ENHANCEMENTS'.
e_headerscreen_layout = ' '.
endcase.
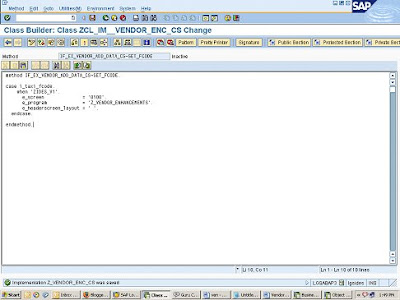
Now again mention the code as earlier by clicking on them.
I_taxi_fcode
E_screen
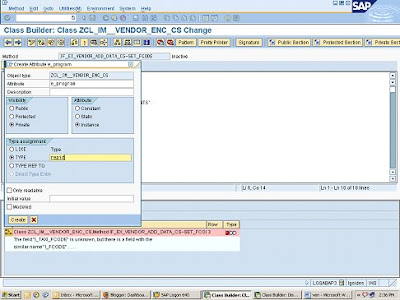
E_program
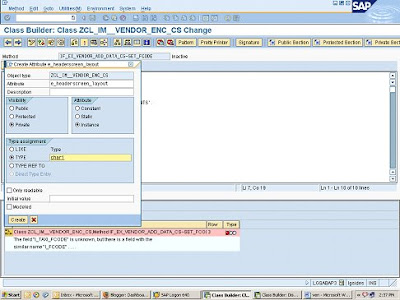
E_headerscreen_layout
Give DYNNR in Type Radio Button for the E_screen
Entries For I_taxi_fcode
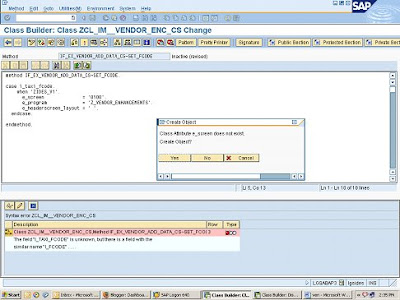
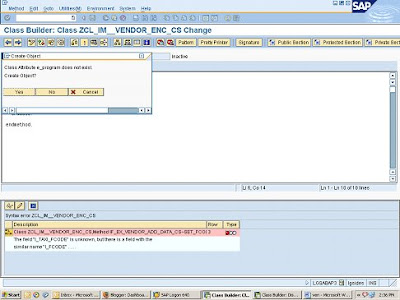 Entries For E_program
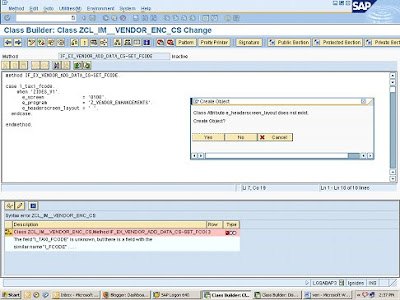 Entries for E_headerscreen_layout
Check and Activate.
Now finally CHECK the badi for sub screen.
Create a program in se80.I have taken “Z_Vendor_Enhancements” which I mention in the above code.
Creation of the sub-screen
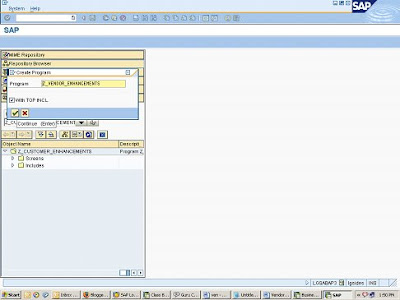
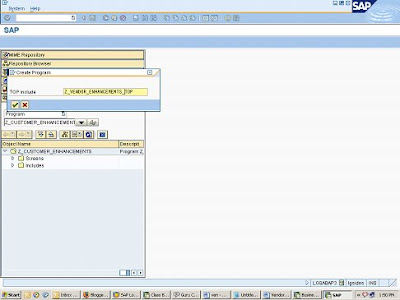
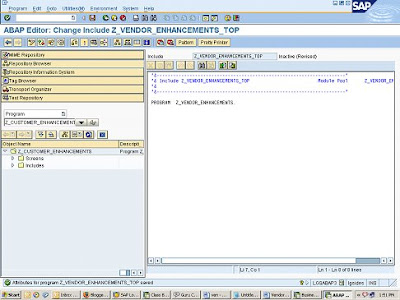
- Go to transaction SE51
- Create a screen “0100” for the above module pool with the following attributes
- Screen type – Sub-screen
- Other attributes – Screen group ZH – There is a popup which comes up as soon as this entry is made
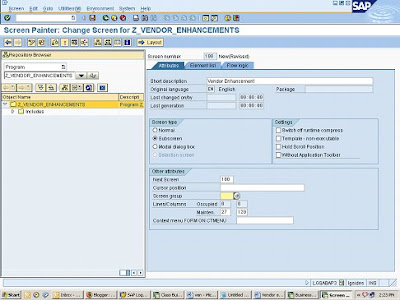
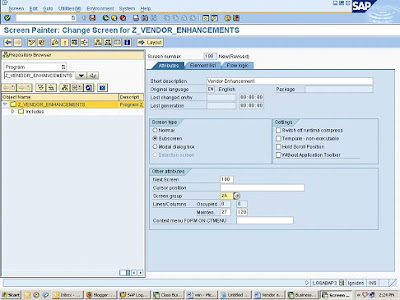
Mention your screen group name below and the description.
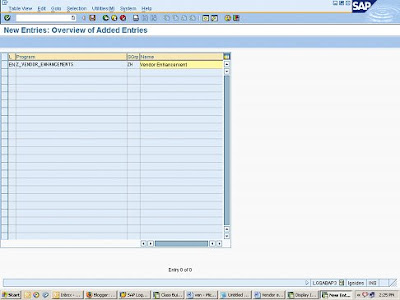
Save and Check.
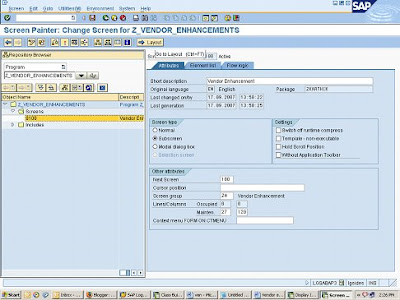
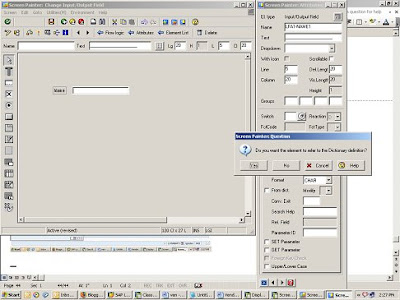
Activate the entire program.
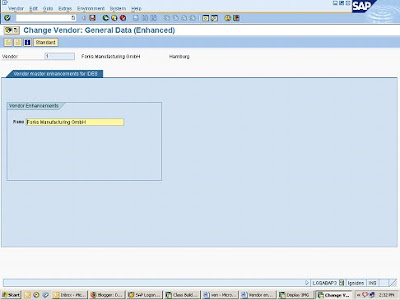
Go to tcode XK02
Vendor Enhancement is the button we created.Click on that This is what you can see with fields which u selected to view.




No comments:
Post a Comment